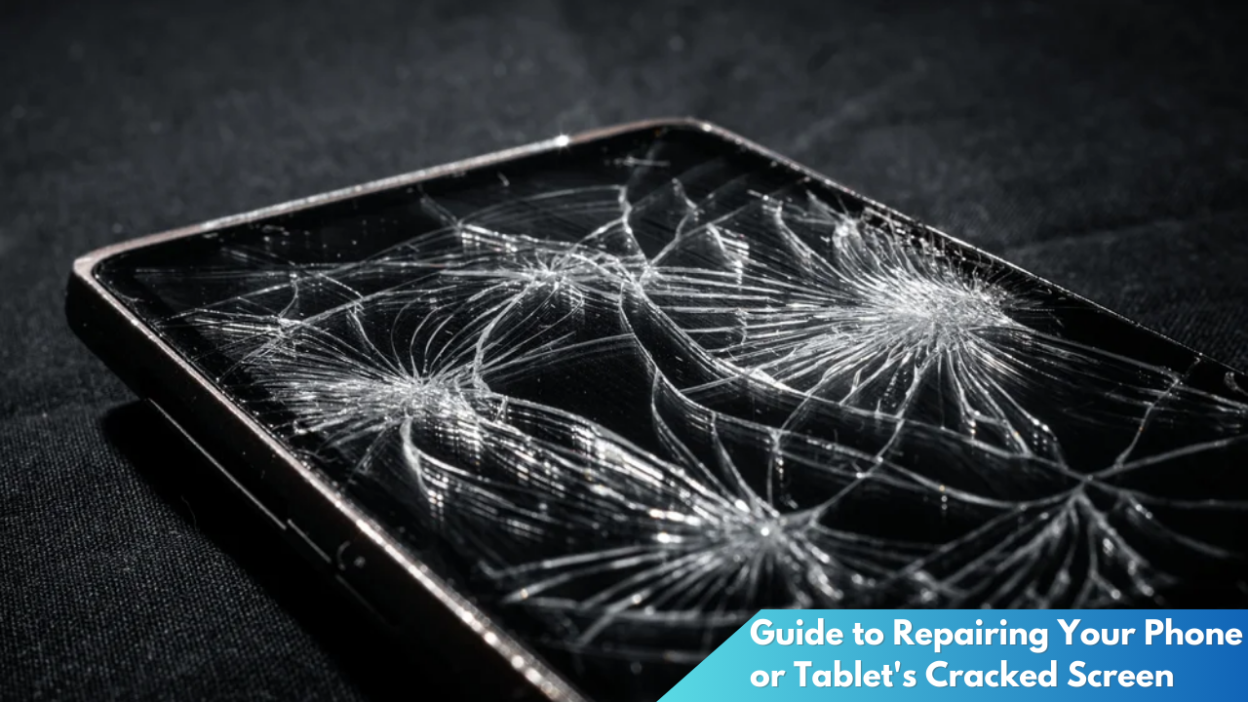
In today’s digital age, smartphones and tablets are essential tools that connect us to the world. However, the fragility of these devices can lead to accidents, resulting in cracked screens that not only hinder the user experience but also pose a risk of further damage. While professional repairs are always an option, many opt for a do-it-yourself approach to save money and time. This article delves into the essential steps needed to mend a cracked screen and offers a detailed guide for those willing to undertake the repair themselves.
Essential Steps for Fixing a Cracked Screen

Repairing a cracked screen starts with assessing the damage. It’s important to determine whether the screen is merely cracked or if the functionality has been compromised. If the device still responds to touch, the digitizer might be intact, allowing for a simpler repair. However, if the touch response is erratic or non-functional, both the screen and digitizer may need replacement. Understanding the extent of the damage is crucial in deciding whether a DIY approach is feasible or if professional assistance is required.
Once the damage assessment is complete, the next step involves gathering the necessary tools and replacement parts. A typical phone or tablet screen repair kit includes precision screwdrivers, a plastic spudger, tweezers, a suction cup, and adhesive strips. Additionally, purchasing a replacement screen specific to your device model ensures compatibility and functionality. It’s essential to source these parts from reputable suppliers to avoid defective components, which could exacerbate the problem.
With tools and components in hand, prepare a clean, well-lit workspace to commence the repair. Begin by powering off the device and removing the SIM card and any external attachments. Following the specific disassembly instructions for your device model, use the screwdriver and spudger to gently open the casing. Carefully detach the old screen, ensuring not to damage any internal components. This meticulous step sets the foundation for a successful screen replacement.
Your DIY Guide to Phone and Tablet Repairs
Embarking on a DIY screen repair requires patience and precision. Start by carefully removing any remaining fragments of the old screen, wiping away dust and debris. This ensures a smooth surface for the new screen. If your device uses adhesive to secure the screen, gently heat the edges of the device with a hairdryer or heat gun to soften the adhesive, making removal easier. Employ the suction cup to lift the glass and the spudger to pry it away from the frame.
Next, securely attach the new screen to the device. Align the screen with the device’s frame, ensuring all connectors are properly aligned and attached. Reconnect the digitizer and any other cables, ensuring they sit snugly without tension, as improper connections can lead to further issues. Once the new screen is in place, reassemble the device by reattaching the back cover and securing it with screws.
Before concluding the repair, conduct a thorough test to ensure the screen functions properly. Power on the device and check for touch responsiveness across the entire screen. Verify that the display is clear and without dead pixels. If the device passes all functionality tests, finalize the repair by reinstalling the SIM card and any protective case. A successful DIY repair not only restores the device’s functionality but also instills a sense of accomplishment.
Repairing a cracked phone or tablet screen is a meticulous process that, when done correctly, can save considerable costs and extend the life of your device. While the DIY approach offers significant rewards, it requires careful attention to detail and adherence to safety practices. By following the outlined steps and exercising patience, you can transform a damaged device into a fully functional gadget. Whether you are a tech enthusiast or a casual user, understanding the repair process empowers you to make informed decisions about your device’s maintenance and longevity.


